用户上传的头像图片大小不一、手机和PC等设备显示尺寸也存在差异,因此需要能根据http请求指定的尺寸参数对图片进行动态压缩,以达到屏幕适配的作用。
分布式消息中间件实战 pdf,搭建FastDFS图片服务器,通过http请求访问服务器中图片时,显示动态缩略图。
具体要求如下:
1.GraphicsMagick,安装完成之后测试是否支持png、jpg,以及验证gm是否可用2.安装LuaJIT、lua-nginx-module和ngx_devel_kit3.安装Nginx,安装完成后测试lua环境是否支持,比如输出hello world4.在Nginx中配置lua脚本,在lua脚本中使用gm命令完成图片压缩
| 环境&软件 | 版本 |
|---|---|
| 虚拟机&VMware Workstation | 15 Pro |
| 服务器&CentOS | CentOS-7-x86_64-DVD-1810.iso |
| GraphicsMagick | 1.3.21 |
| LuaJIT | 2.0.4 |
| lua-nginx-module | 0.8.10 |
| GraphicsMagick | 1.3.18 |
| ngx_devel_kit | 0.2.18 |
| Nginx | 1.15.6 |
| LuaJIT | 2.0.2 |
| 远程文件传输&WinSCP、Xftp | 5 |
| 远程连接&Xshell | 5 |
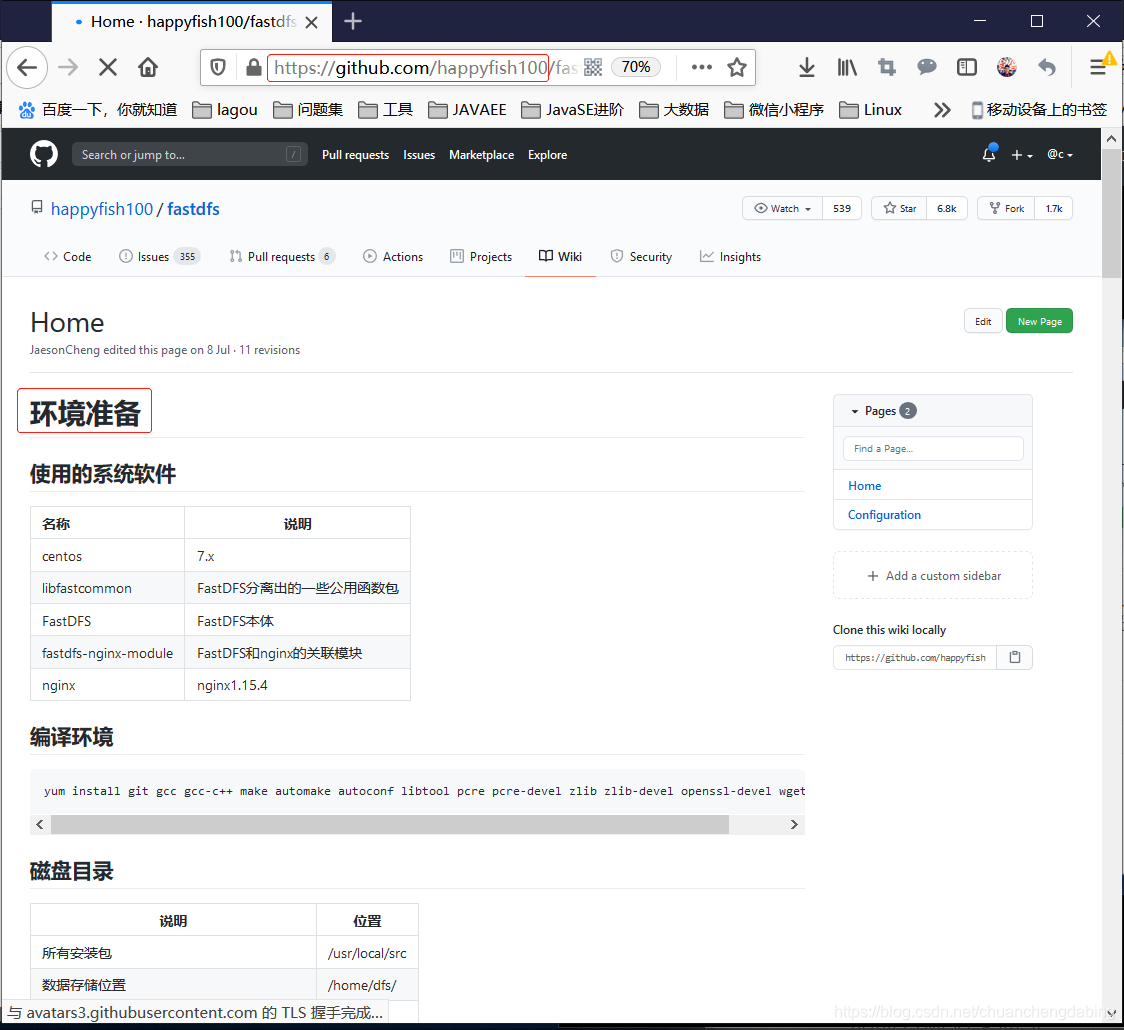
php分布式架构rpc入门到实战,具体安装步骤可以参考:github FastDFS安装参考
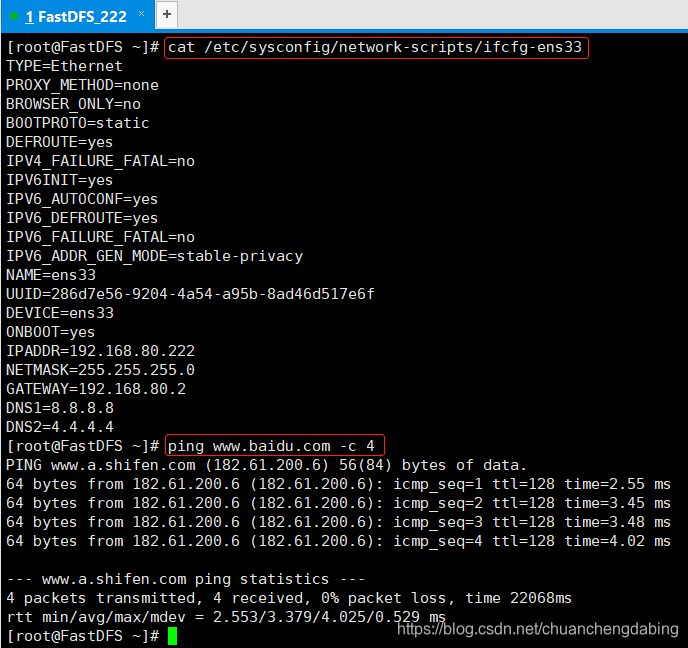
分布式爬虫实战、保证目前主机可以上网状态:
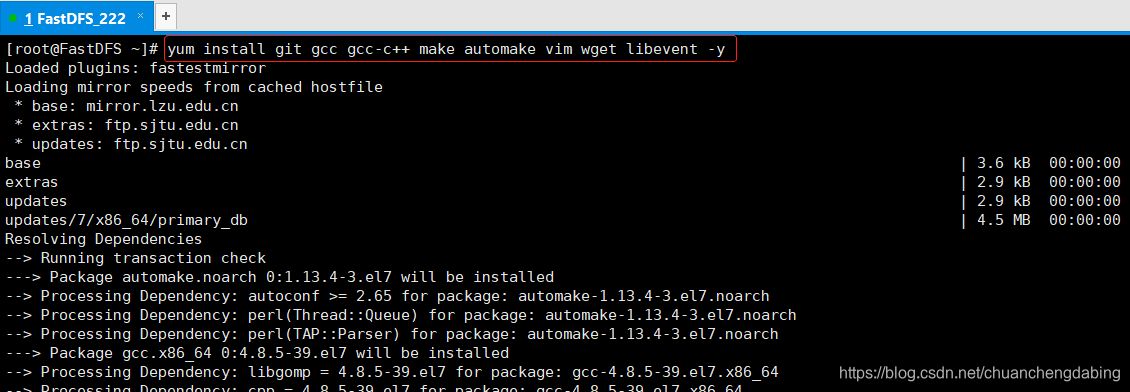
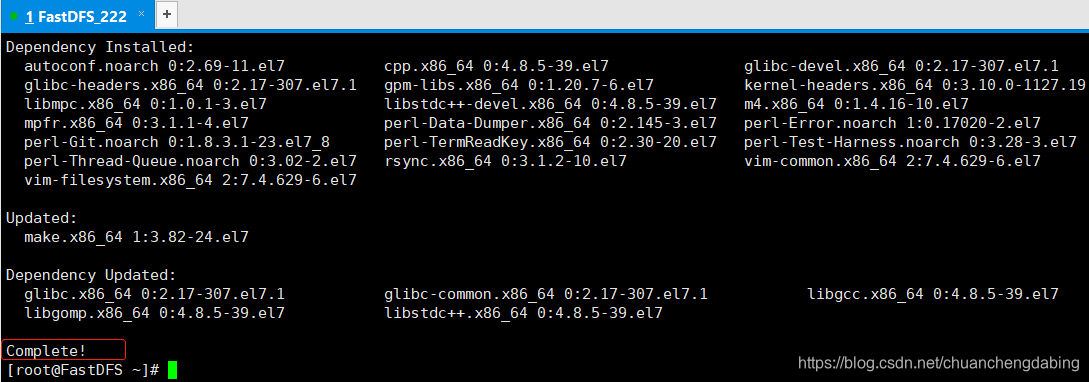
安装必要的编译环境:yum install git gcc gcc-c++ make automake vim wget libevent -y
mkdir /usr/local/fastdfs
cd /usr/local/fastdfs
git clone https://github.com/happyfish100/libfastcommon.git --depth 1
cd libfastcommon/
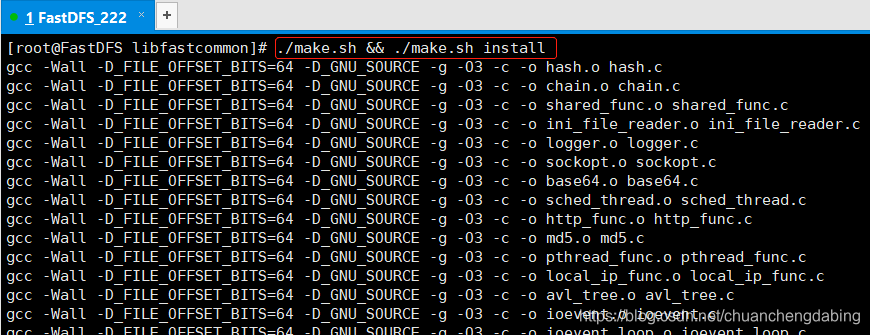
./make.sh && ./make.sh install
下载libfastcommon 基础库:
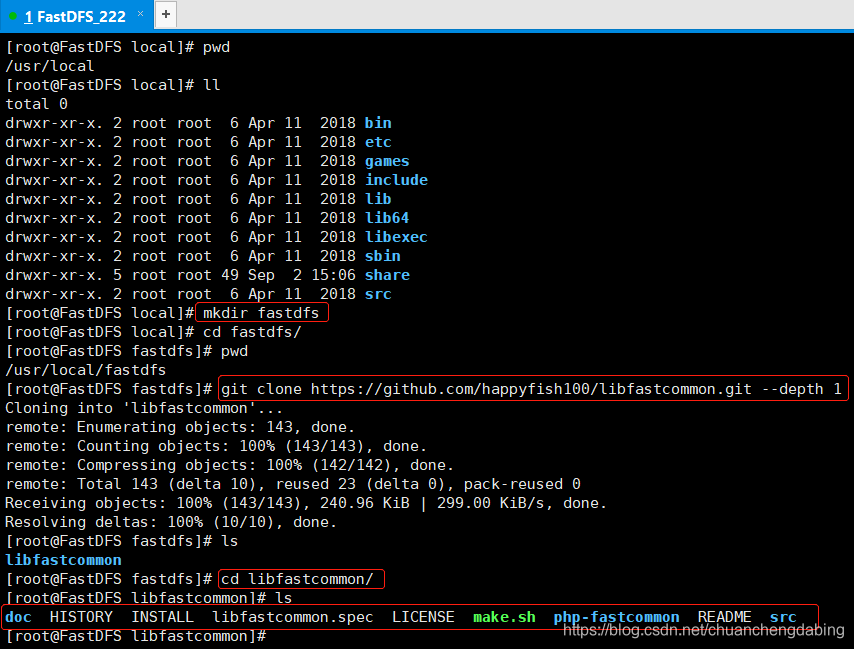
编译并安装libfastcommon 基础库:
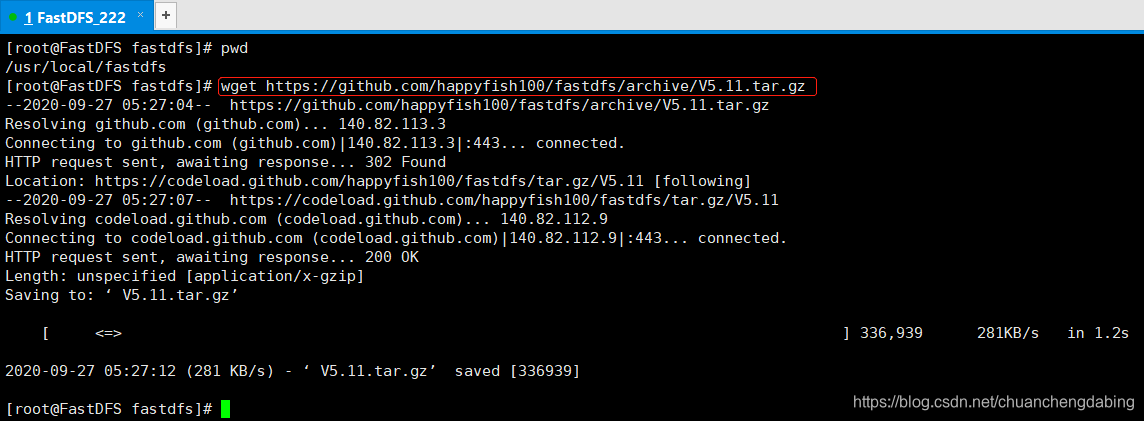
在FastDFS目录中下载FastDFS:
cd /usr/local/fastdfswget https://github.com/happyfish100/fastdfs/archive/V5.11.tar.gz
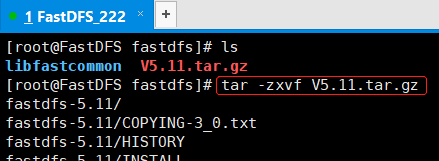
解压缩安装包:
tar -zxvf V5.11.tar.gz
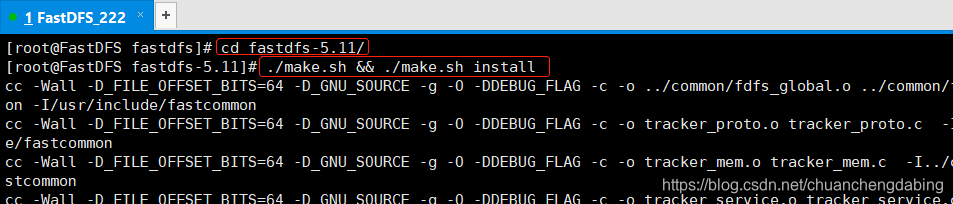
进入fastdfs目录并安装:
cd fastdfs-5.11
./make.sh && ./make.sh install
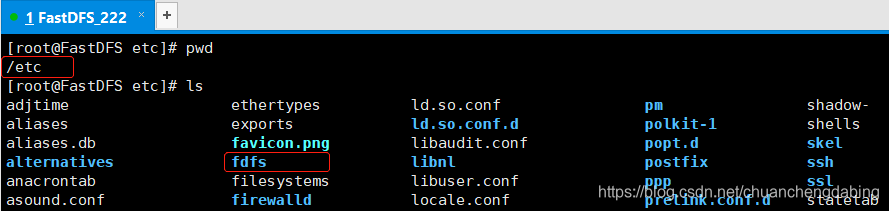
查看在etc目录下生成的配置文件
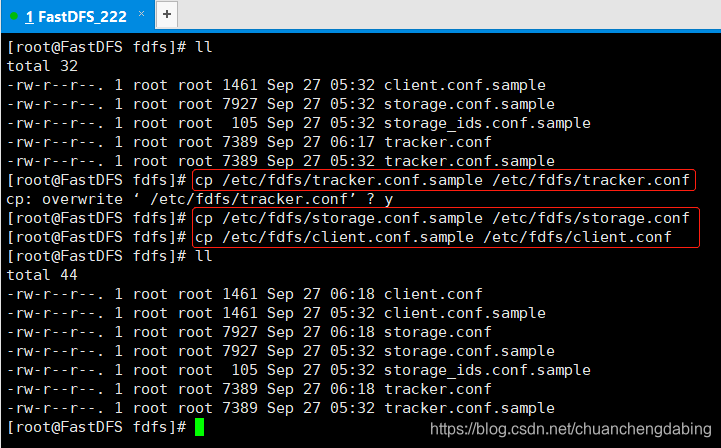
参考系统提供的配置文件,生成fastdfs配置文件:
cp /etc/fdfs/tracker.conf.sample /etc/fdfs/tracker.confcp /etc/fdfs/storage.conf.sample /etc/fdfs/storage.confcp /etc/fdfs/client.conf.sample /etc/fdfs/client.conf
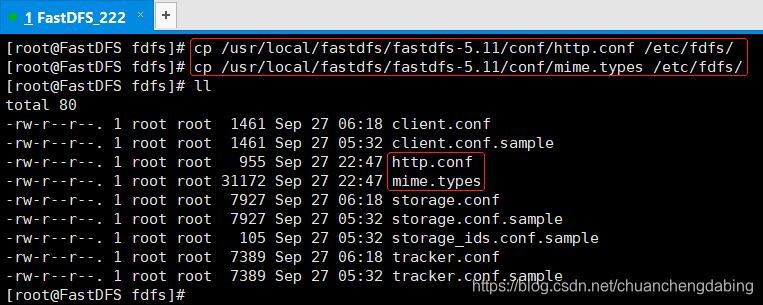
拷贝fastdfs目录下的配置文件到/etc/fdfs目录中
cp /usr/local/fastdfs/fastdfs-5.11/conf/http.conf /etc/fdfs
cp /usr/local/fastdfs/fastdfs-5.11/conf/mime.types /etc/fdfs
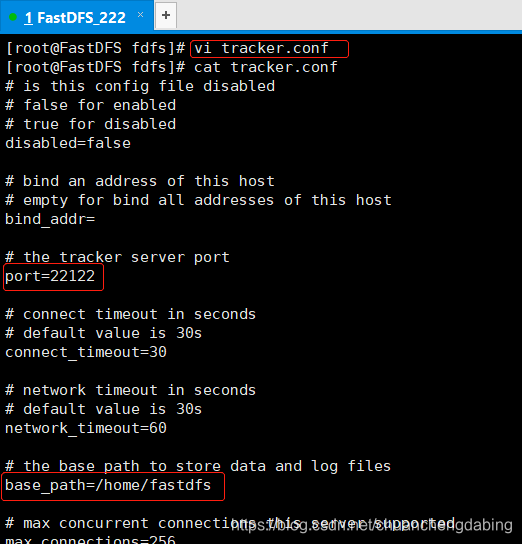
vim /etc/fdfs/tracker.conf
修改配置文件:tracker.conf
port=22122  访问端口
base_path=/home/fastdfs   数据存储路径
修改配置文件:tracker.conf
vim /etc/fdfs/storage.conf
#需要修改的内容如下
port=23000
base_path=/home/fastdfs # 数据和日志文件存储根目录
store_path0=/home/fastdfs # 第一个存储目录
tracker_server=192.168.80.222:22122    修改成自己的主机端口
#http访问文件的端口(默认8888,看情况修改,和nginx中保持一致)
http.server_port=8888
mkdir /home/fastdfs -p 创建数据存储目录
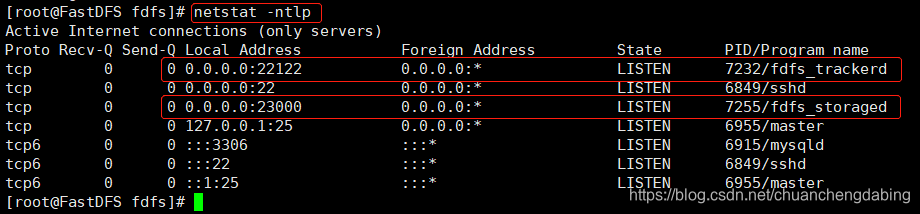
/usr/bin/fdfs_trackerd /etc/fdfs/tracker.conf restart 启动追踪器
/usr/bin/fdfs_storaged /etc/fdfs/storage.conf restart 启动存储器
netstat -ntlp 查看所有运行的端口

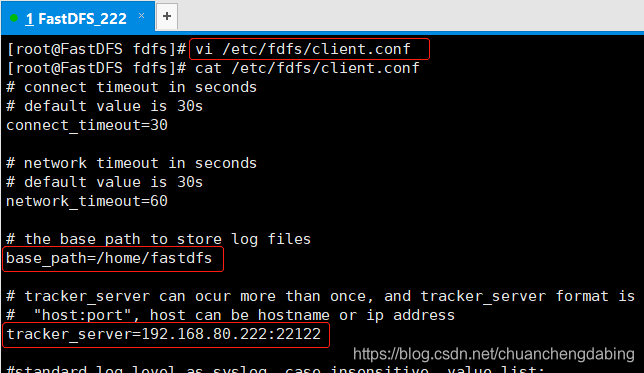
vim /etc/fdfs/client.conf
#需要修改的内容如下
base_path=/home/fastdfs
#tracker服务器IP和端口
tracker_server=192.168.80.222:22122
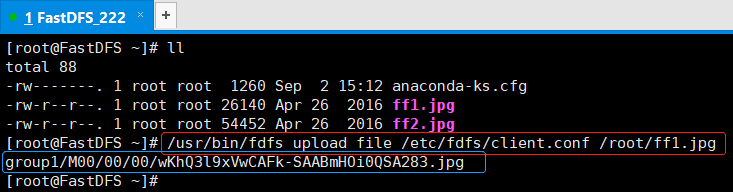
#保存后测试,返回ID表示成功 如:group1/M00/00/00/xxx.png执行上传命令:/usr/bin/fdfs_upload_file /etc/fdfs/client.conf /root/fastdfs/1.png存储路径:group1/M00/00/00/wKhQ3l9xVwCAFk-SAABmHOi0QSA283.jpg

下载:
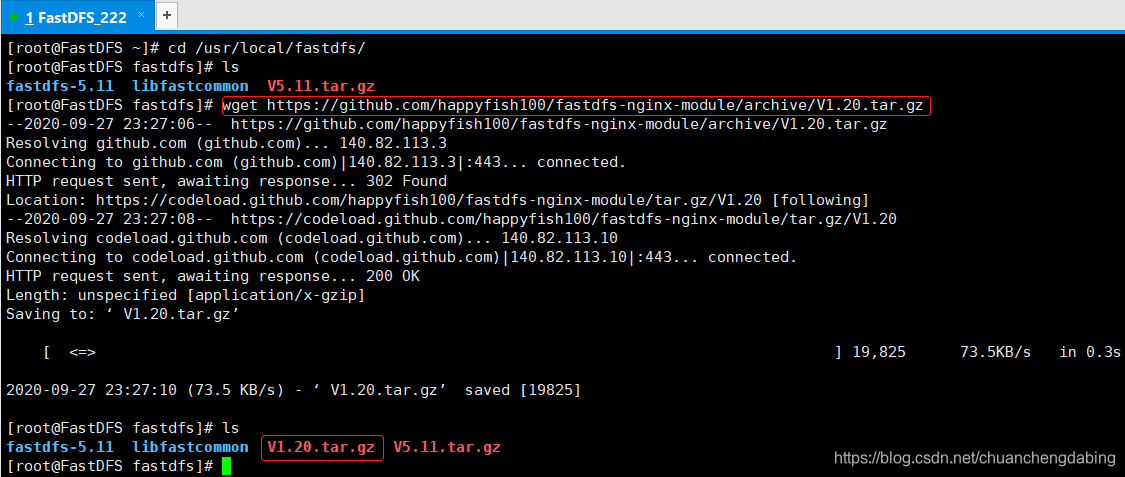
cd /usr/local/fastdfs/
wget https://github.com/happyfish100/fastdfs-nginx-module/archive/V1.20.tar.gz
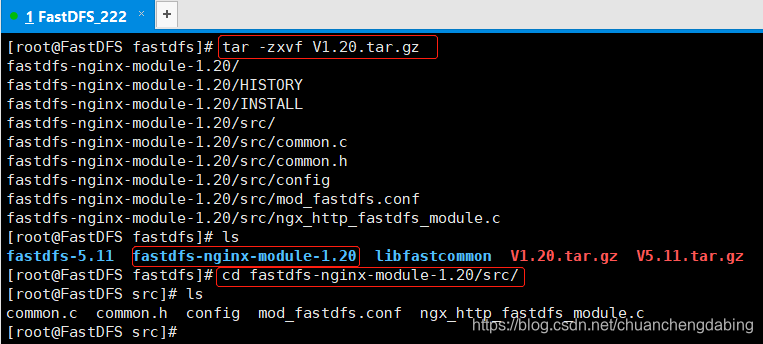
解压
tar -xvf V1.20.tar.gz
cd fastdfs-nginx-module-1.20/src
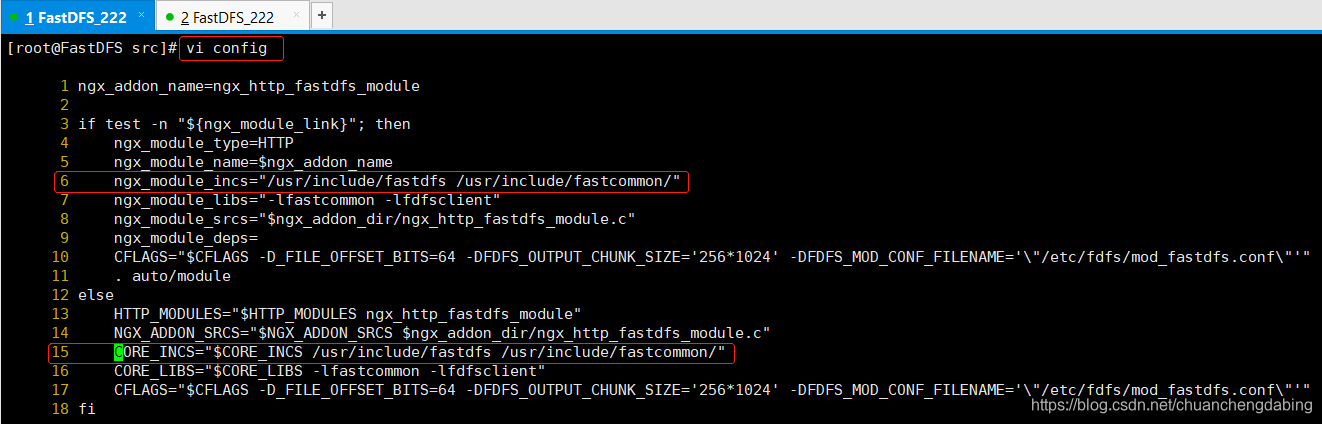
修改配置文件:config
vim config
修改第6 行 和 15 行 修改成
ngx_module_incs="/usr/include/fastdfs /usr/include/fastcommon/"
CORE_INCS="$CORE_INCS /usr/include/fastdfs /usr/include/fastcommon/"
拷贝并修改配置文件:
cp mod_fastdfs.conf /etc/fdfs/
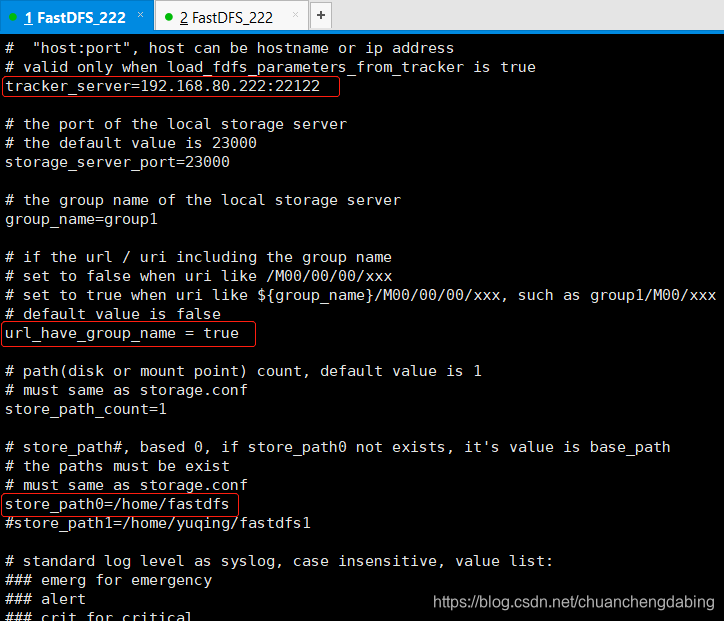
vim /etc/fdfs/mod_fastdfs.conf
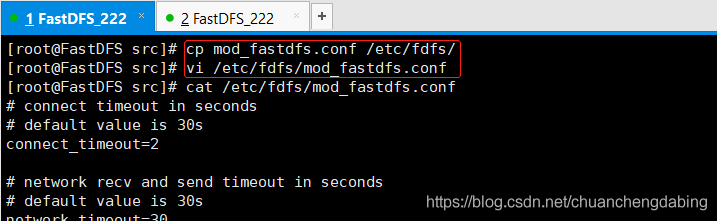
需要修改的内容如下:
tracker_server=192.168.211.136:22122    追踪服务器地址
url_have_group_name=true  	上面上传文件时是带着组名称的,因此这里设置成true
store_path0=/home/fastdfs
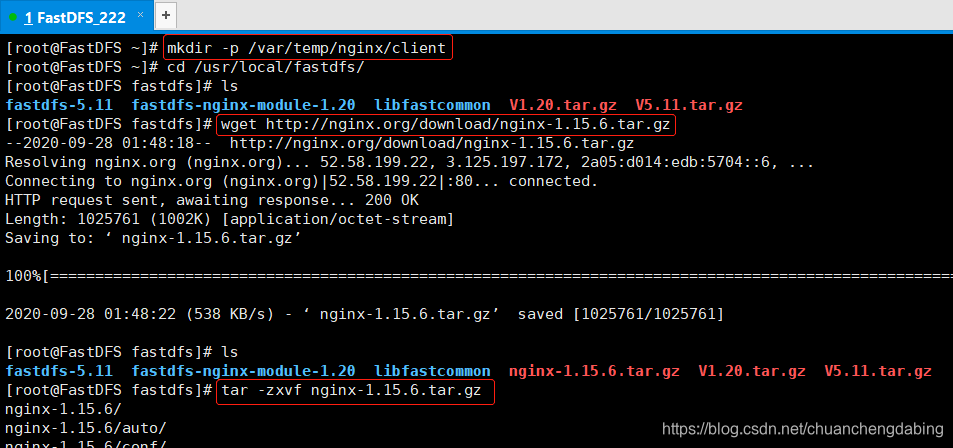
nginx启动默认需要的目录,下载并解压nginx:
mkdir -p /var/temp/nginx/client   cd  /usr/local/fastdfs/
wget http://nginx.org/download/nginx-1.15.6.tar.gz
tar -zxvf nginx-1.15.6.tar.gz
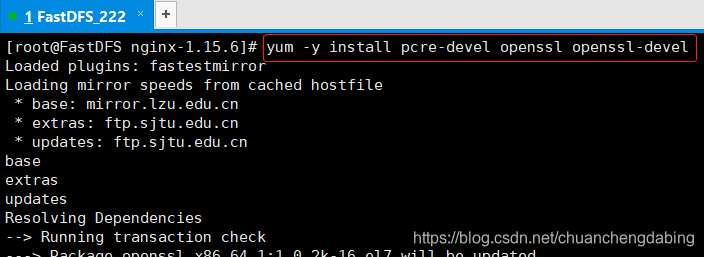
安装nginx需要的依赖库:
cd nginx-1.15.6/
yum -y install pcre-devel openssl openssl-devel
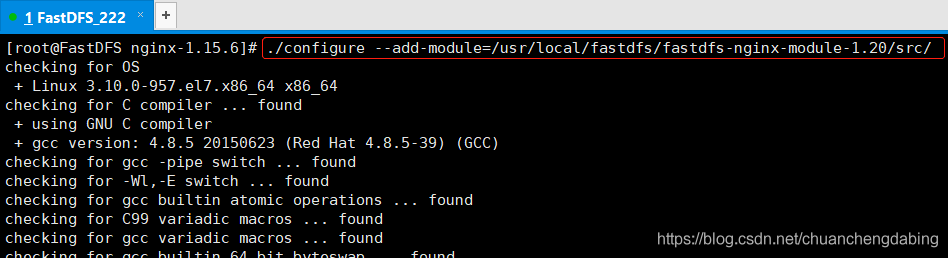
添加fastdfs-nginx-module模块,使nginx和nginx-module进行关联:
./configure --add-module=/usr/local/fastdfs/fastdfs-nginx-module-1.20/src
编译安装
make && make install

查看模块是否安装上
/usr/local/nginx/sbin/nginx -V

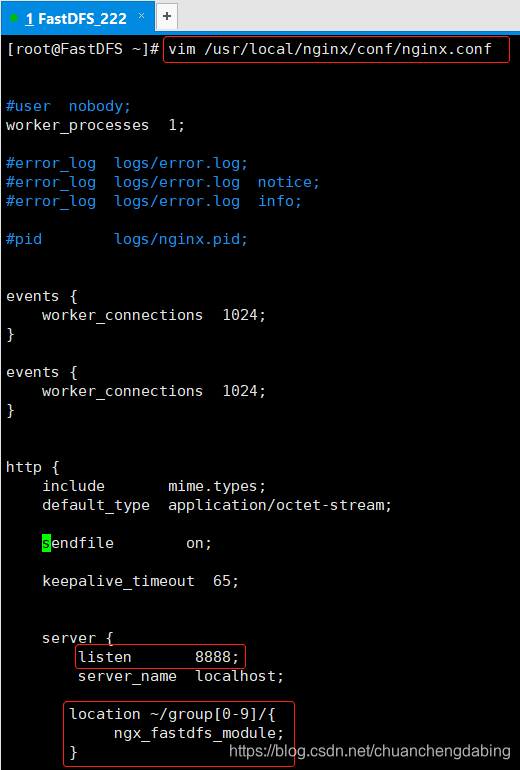
vim /usr/local/nginx/conf/nginx.conf
#添加如下配置
server {listen    8888;server_name localhost;location ~/group[0-9]/ {       # 匹配请求带有group组名的请求ngx_fastdfs_module;}
}
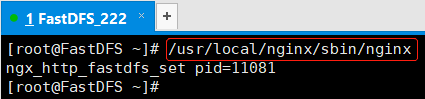
启动nginx
/usr/local/nginx/sbin/nginx
关闭防火墙
systemctl stop firewalld
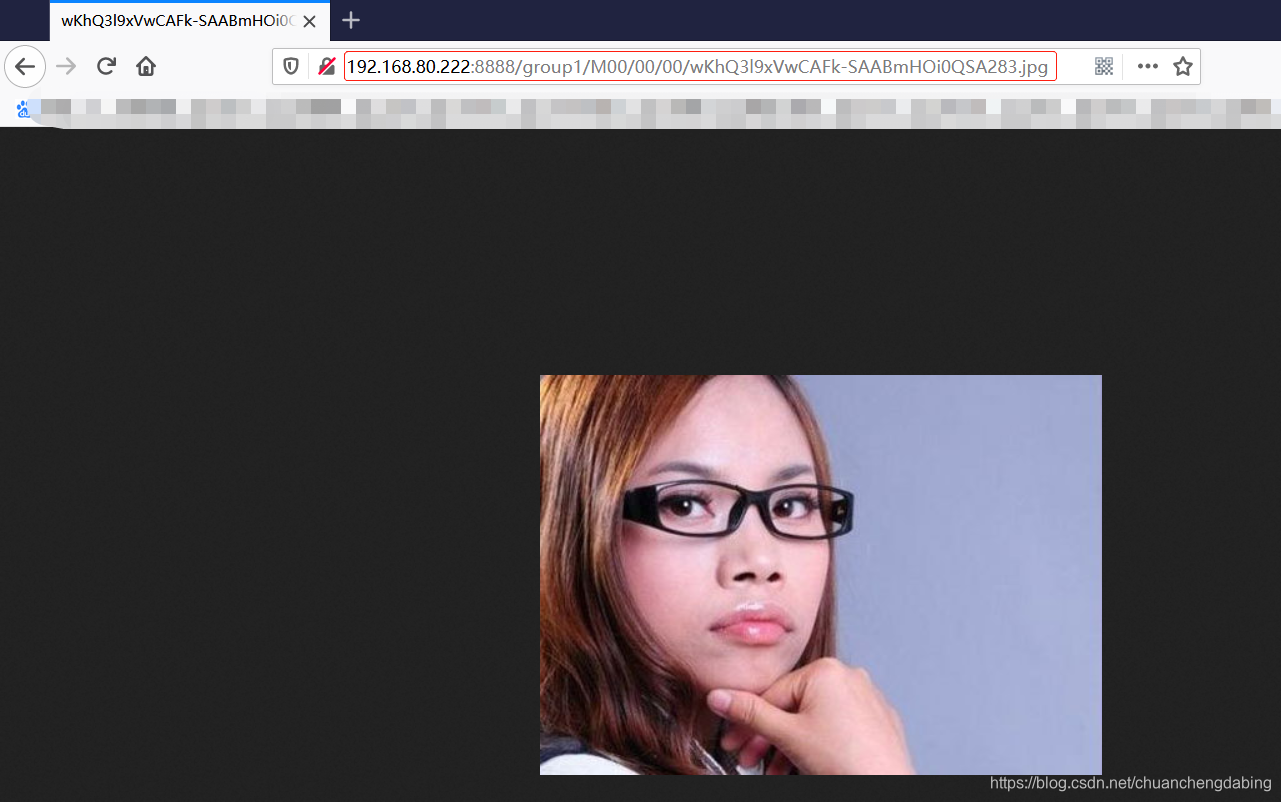
通过http下载图片
http://192.168.80.222:8888/group1/M00/00/00/wKhQ3l9xVwCAFk-SAABmHOi0QSA283.jpg
下载:LuaJIT-2.0.2.tar.gz 提取码:x5ha
下载:v0.8.6.tar 提取码:8odz
下载:ngx_devel_kit-0.2.18.tar 提取码:9ey5
下载:nginx-1.4.2.tar 提取码:r7ia
我们通常使用FastDFS来当作图片服务器,客户端通过Nginx请求图片。某些情况下,客户端对请求的图片有尺寸要求:
如 http://ip:port/group1/M00/00/00/asdasd42342ascascasc.jpg_100x200.jpg
这时我们可以使用GraphicsMagick工具动态的修改图片以满足客户端的需求。
这里使用lua脚本,调用GraphicsMagick的gm命令动态处理图片。
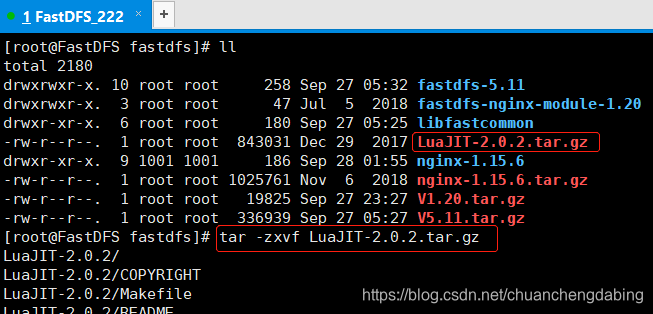
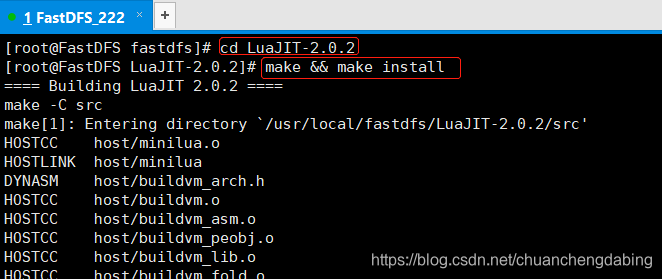
下载LuaJIT:
tar -zxvf LuaJIT-2.0.2.tar.gz
安装LuaJIT:
cd LuaJIT-2.0.2make && make install
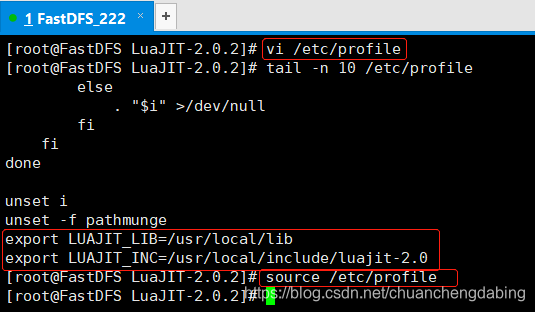
export LUAJIT_LIB=/usr/local/libexport LUAJIT_INC=/usr/local/include/luajit-2.0
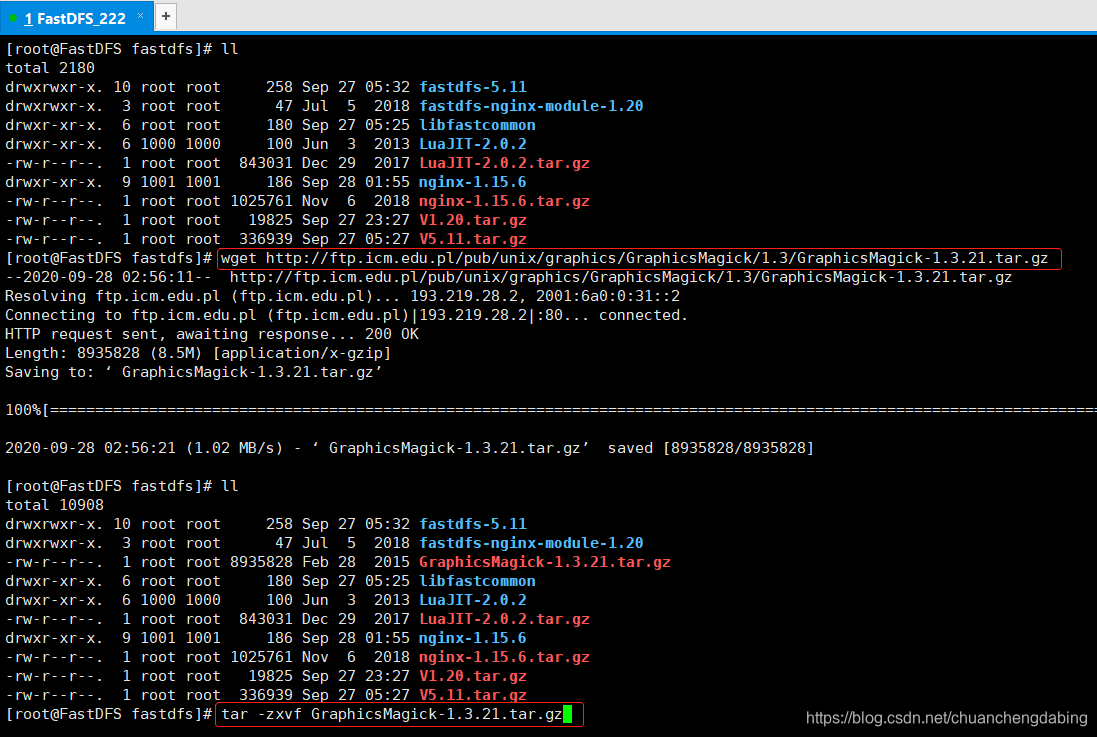
wget http://ftp.icm.edu.pl/pub/unix/graphics/GraphicsMagick/1.3/GraphicsMagick-1.3.21.tar.gz

tar -zxvf GraphicsMagick-1.3.21.tar.gz
./configure --prefix=/data/local/GraphicsMagick --enable-shared
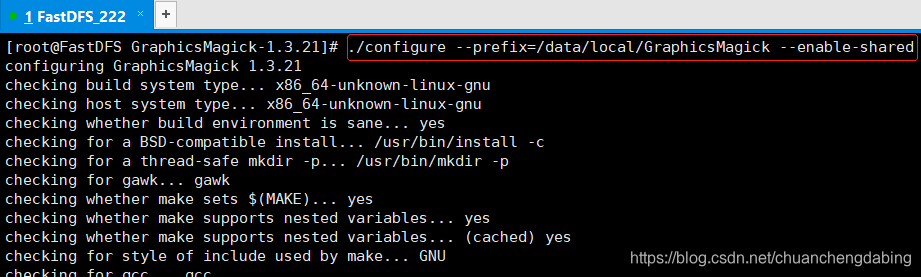
make && make install

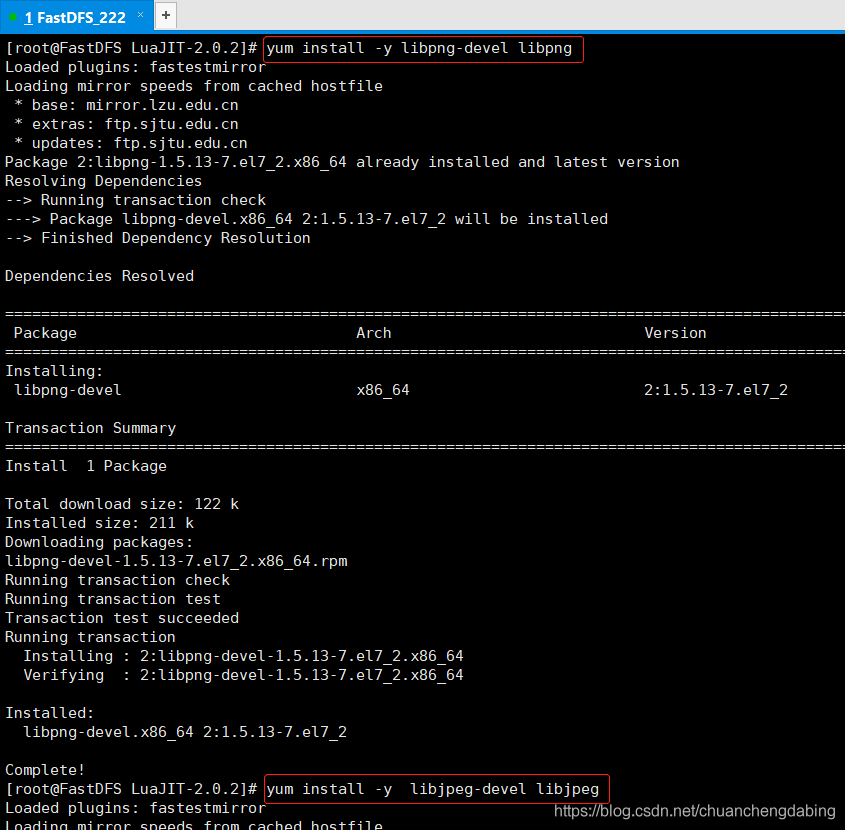
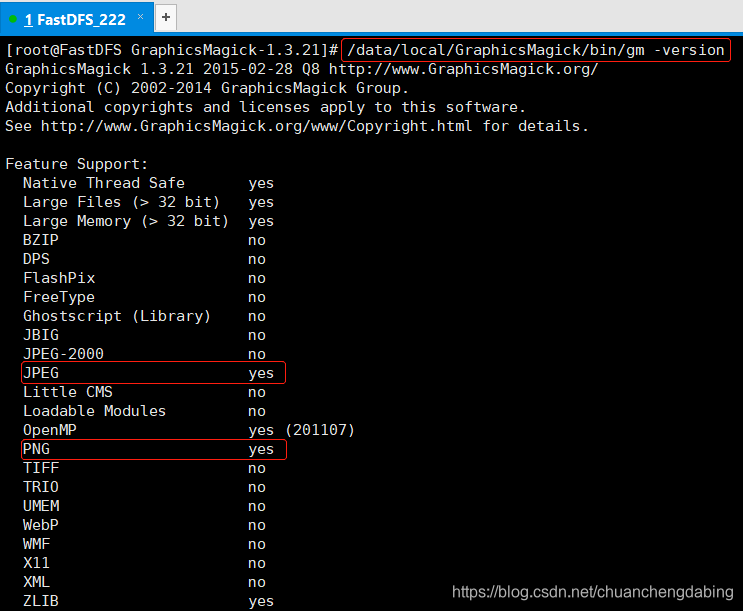
查看GraphicsMagick 支持的文件类型:
若PNG、JPEG等不支持,可以在编译GraphicsMagick的时候,使用 --with-png=yes/data/local/GraphicsMagick/bin/gm -version
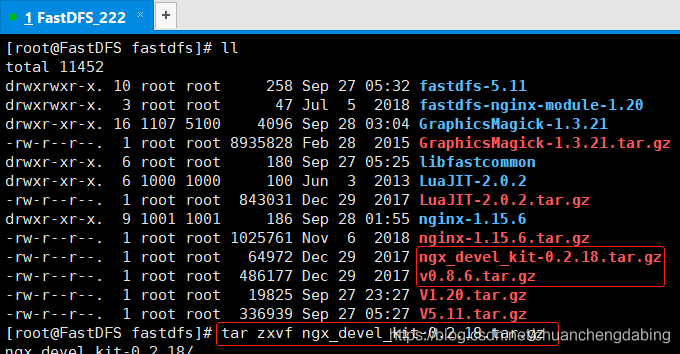
tar zxvf ngx_devel_kit-0.2.18.tar.gztar zxvf v0.8.6.tar.gz
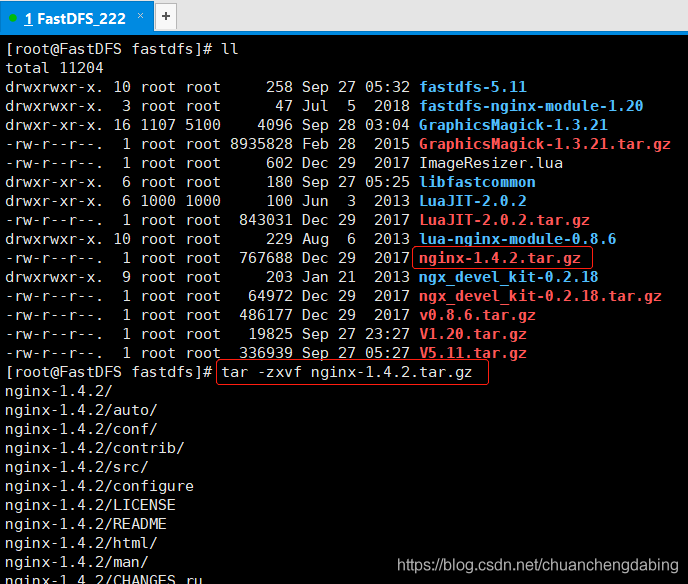
删除原来的nginx1.15.6版本,版本不兼容
rm -rf /usr/local/nginx/ rm -rf /var/temp/nginx/
解压缩新的nginx1.4.2
tar -zxvf nginx-1.4.2.tar.gz (注意:重新安装nginx1.4.2)
添加模块:
./configure --add-module=/usr/local/fastdfs/lua-nginx-module-0.8.6 --add-module=/usr/local/fastdfs/ngx_devel_kit-0.2.18 --add-module=/usr/local/fastdfs/fastdfs-nginx-module-1.20/src

安装:
make && make install

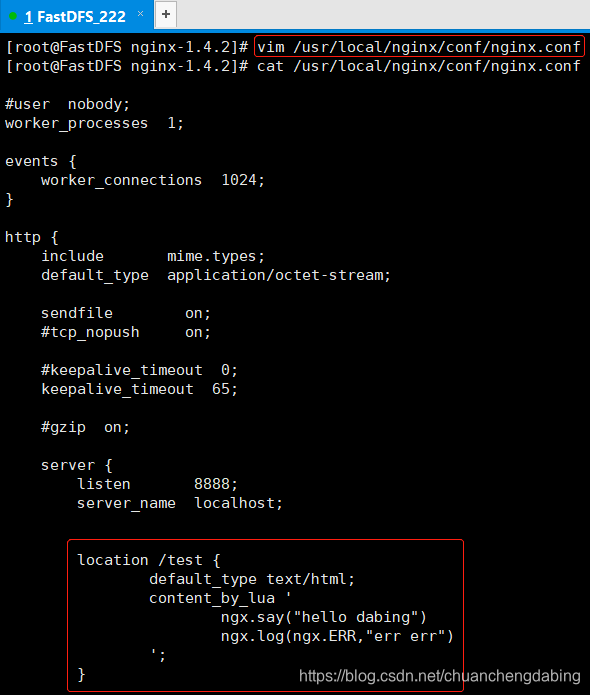
修改nginx配置文件
vim /usr/local/nginx/conf/nginx.conf
location /test {default_type text/html;content_by_lua 'ngx.say("hello dabing")ngx.log(ngx.ERR,"err err")';
}
如果启动nginx,报错
/usr/local/nginx/sbin/nginx报错:/usr/local/nginx/sbin/nginx: error while loading shared libraries: libluajit-5.1.so.2: cannot open shared object file: No such file or directory

解决:
find / -name libluajit-5.1.so.2ln -s /usr/local/lib/libluajit-5.1.so.2 /usr/lib64/libluajit-5.1.so.2
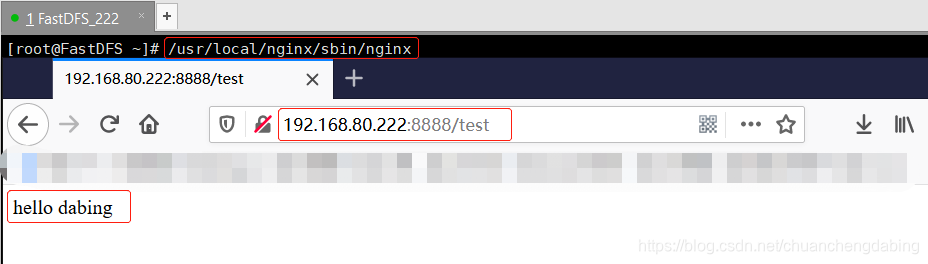
再次启动nginx,并测试nginx扩展lua是否正常:若返回hello dabing即说明正常
/usr/local/nginx/sbin/nginx
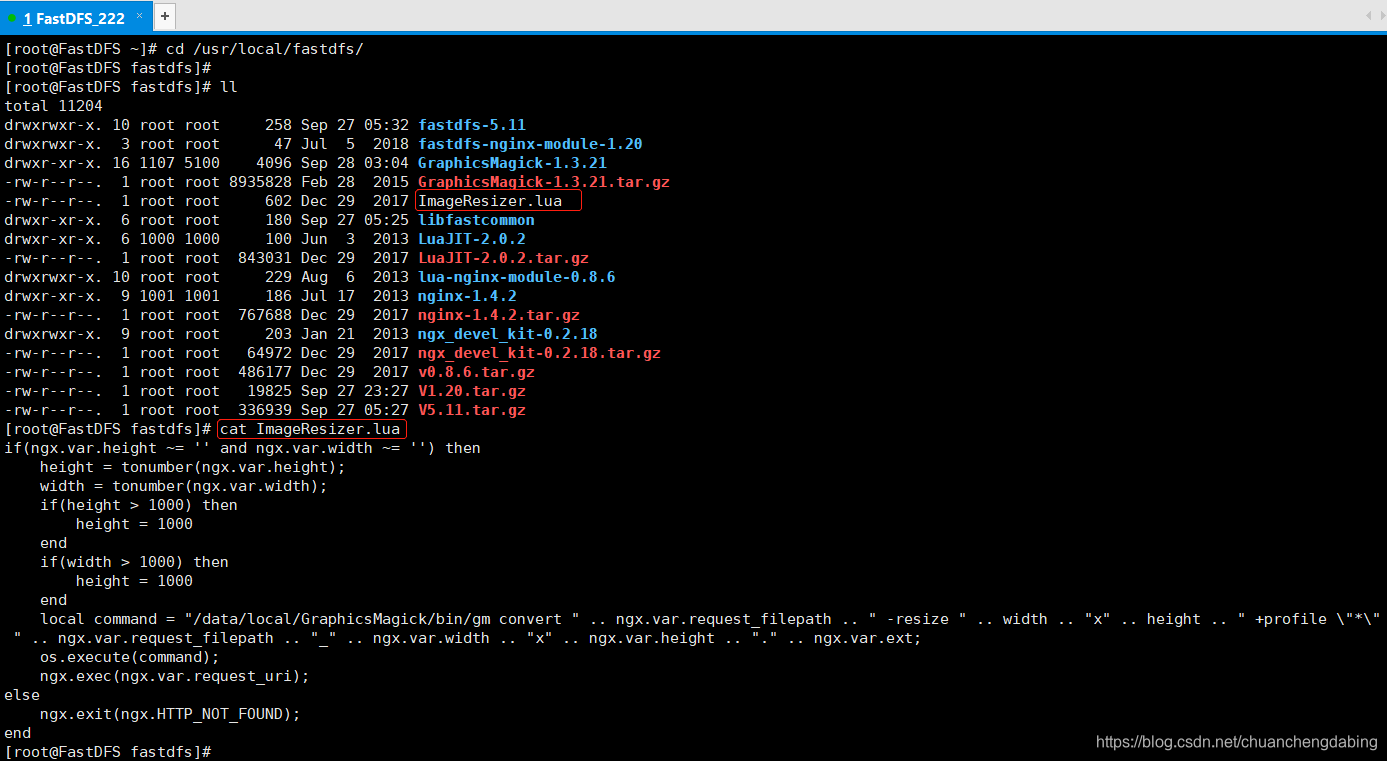
链接:lua脚本ImageResizer.lua 提取码:rwti
查看上传的lua脚本:ImageResizer.lua
8888端口:访问正常大小的图片
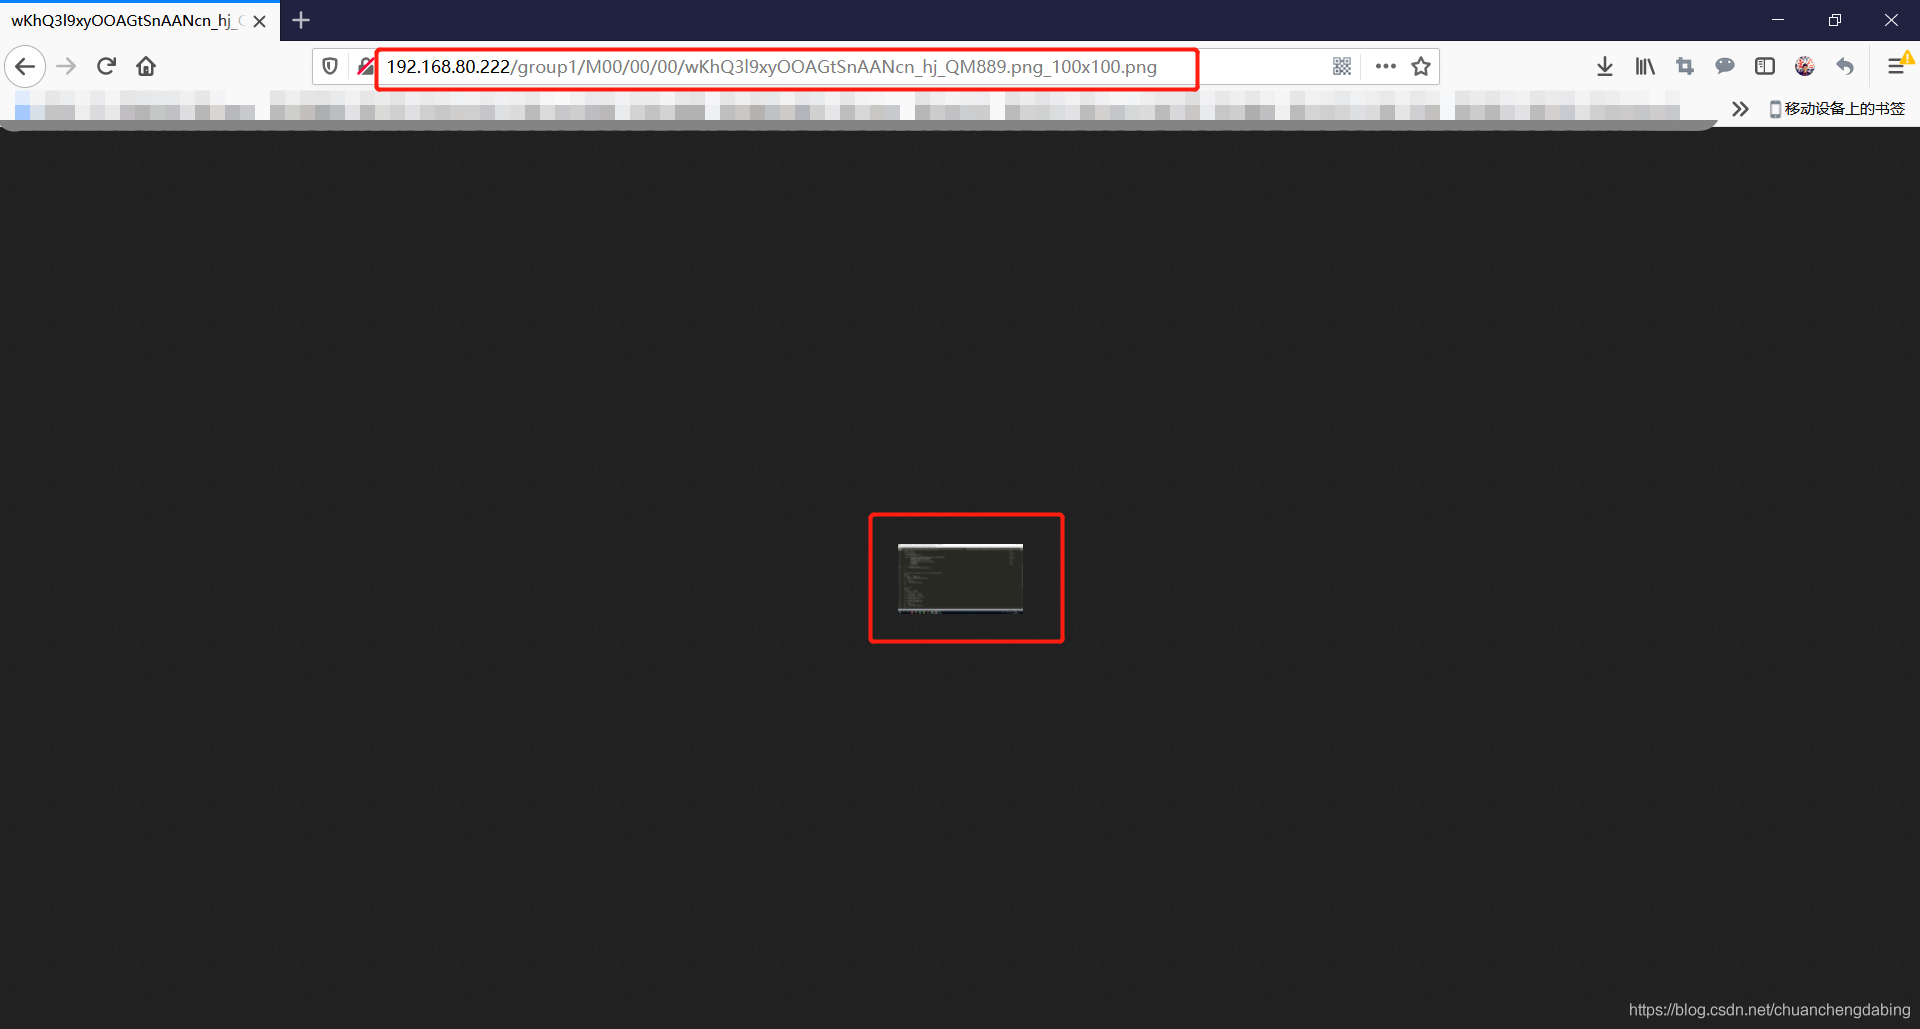
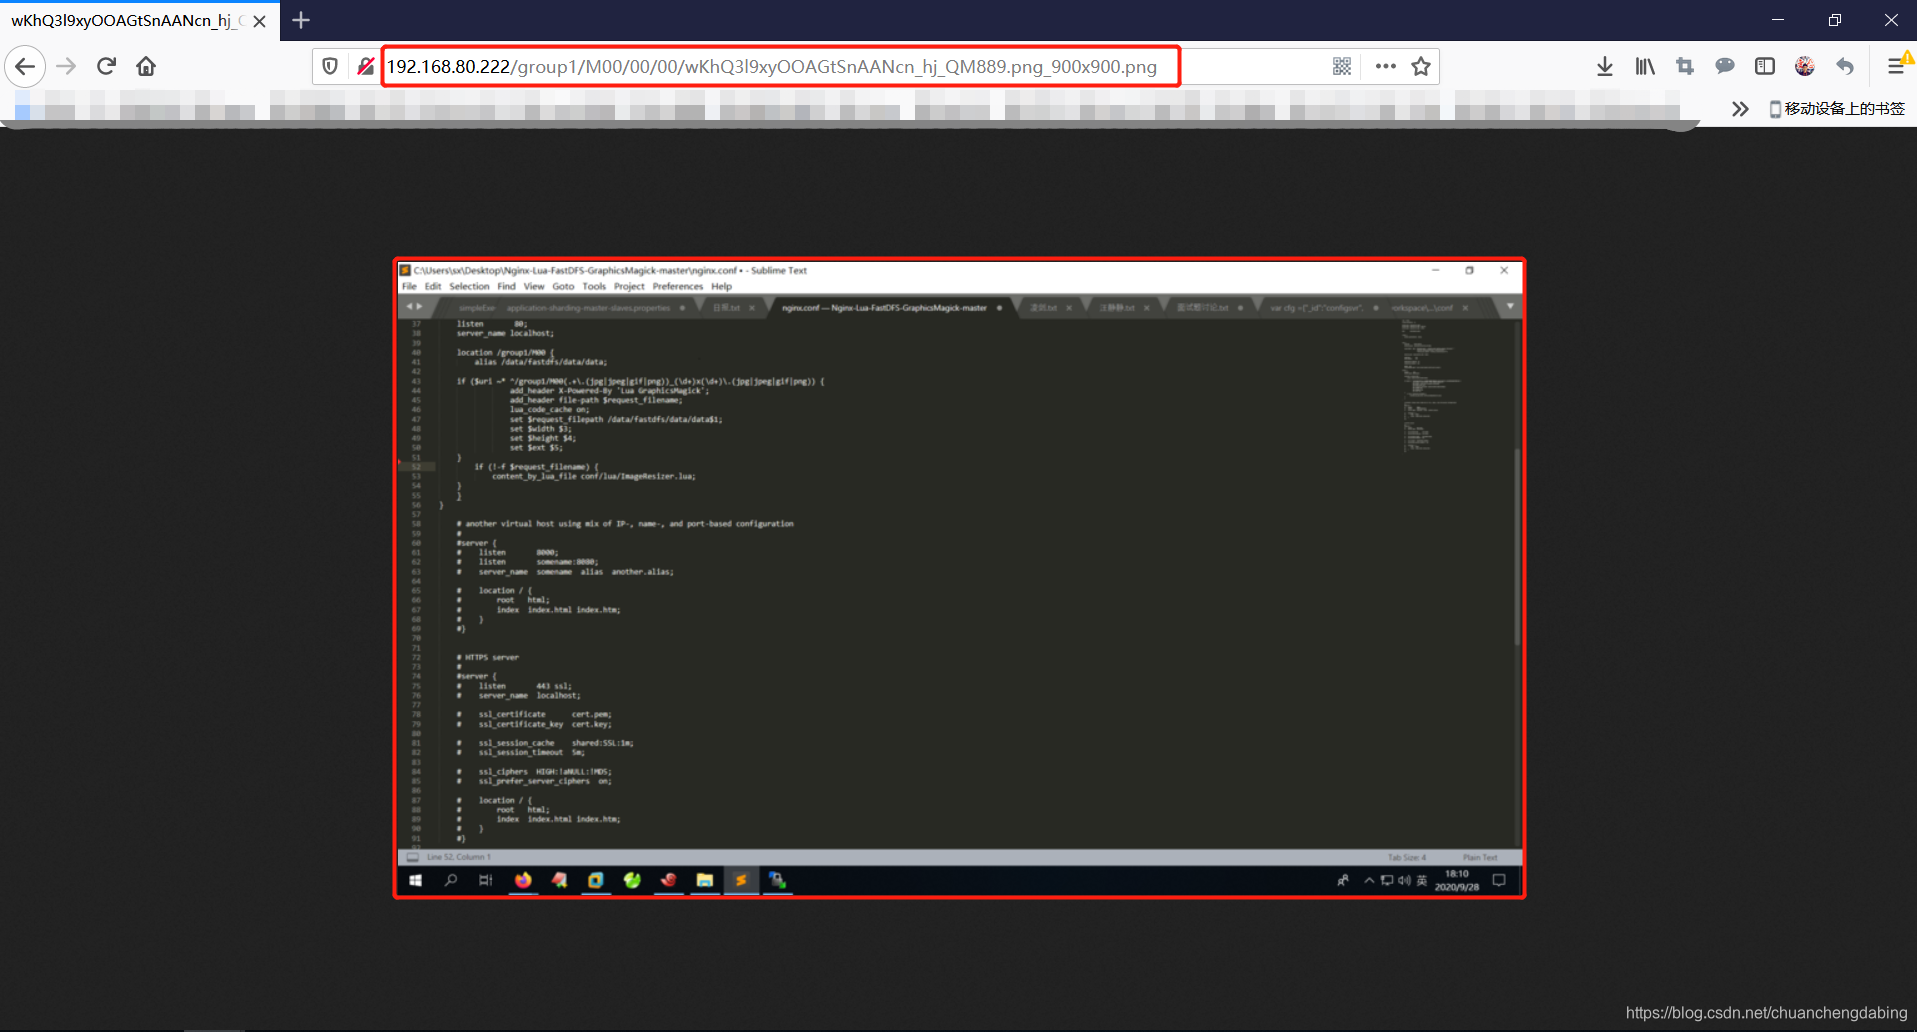
80端口:访问缩略图,使用lua脚本,调用GraphicsMagick的gm命令动态处理图片
#user nobody;
worker_processes 1;#error_log logs/error.log;
#error_log logs/error.log notice;
#error_log logs/error.log info;#pid logs/nginx.pid;events {worker_connections 1024;
}http {include mime.types;default_type application/octet-stream;#log_format main '$remote_addr - $remote_user [$time_local] "$request" '# '$status $body_bytes_sent "$http_referer" '# '"$http_user_agent" "$http_x_forwarded_for"';#access_log logs/access.log main;sendfile on;#tcp_nopush on;#keepalive_timeout 0;keepalive_timeout 65;#gzip on;server {listen 8888;server_name localhost;location ~/group[0-9]/ {ngx_fastdfs_module;}}
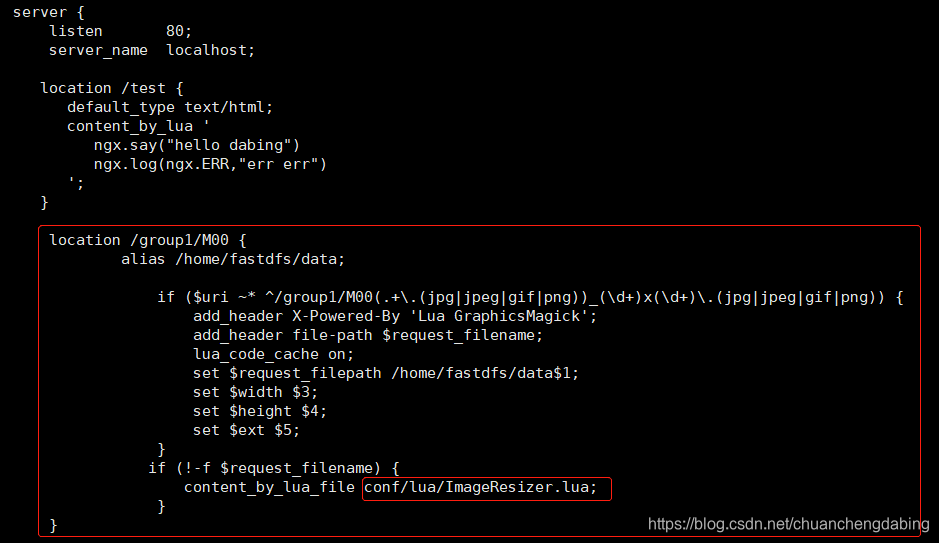
#-------------------------------------------------------------------------------------server {listen 80;server_name localhost;location /test {default_type text/html;content_by_lua 'ngx.say("hello dabing")ngx.log(ngx.ERR,"err err")';} location /group1/M00 {alias /home/fastdfs/data;if ($uri ~* ^/group1/M00(.+\.(jpg|jpeg|gif|png))_(\d+)x(\d+)\.(jpg|jpeg|gif|png)) { add_header X-Powered-By 'Lua GraphicsMagick';add_header file-path $request_filename;lua_code_cache on;set $request_filepath /home/fastdfs/data$1;set $width $3;set $height $4;set $ext $5;}if (!-f $request_filename) {content_by_lua_file conf/lua/ImageResizer.lua;}}location / {root html;index index.html index.htm;}#error_page 404 /404.html;# redirect server error pages to the static page /50x.html#error_page 500 502 503 504 /50x.html;location = /50x.html {root html;}# proxy the PHP scripts to Apache listening on 127.0.0.1:80##location ~ \.php$ {# proxy_pass http://127.0.0.1;#}# pass the PHP scripts to FastCGI server listening on 127.0.0.1:9000##location ~ \.php$ {# root html;# fastcgi_pass 127.0.0.1:9000;# fastcgi_index index.php;# fastcgi_param SCRIPT_FILENAME /scripts$fastcgi_script_name;# include fastcgi_params;#}# deny access to .htaccess files, if Apache's document root# concurs with nginx's one##location ~ /\.ht {# deny all;#}}# another virtual host using mix of IP-, name-, and port-based configuration##server {# listen 8000;# listen somename:8080;# server_name somename alias another.alias;# location / {# root html;# index index.html index.htm;# }#}# HTTPS server##server {# listen 443;# server_name localhost;# ssl on;# ssl_certificate cert.pem;# ssl_certificate_key cert.key;# ssl_session_timeout 5m;# ssl_protocols SSLv2 SSLv3 TLSv1;# ssl_ciphers HIGH:!aNULL:!MD5;# ssl_prefer_server_ciphers on;# location / {# root html;# index index.html index.htm;# }#}}
压缩请求的核心配置:用户请求80端口时,并且携带图片压缩尺寸,则使用lua脚本,调用GraphicsMagick的gm命令动态处理图片
设置/home/fastdfs/data目录的访问权限:

在nginx的/usr/local/nginx/conf目录下创建lua目录:上图配置文件的配置相对应
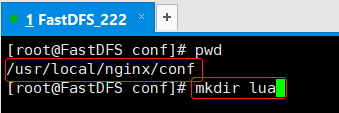
将lua脚本ImageResizer.lua 复制到lua目录中:

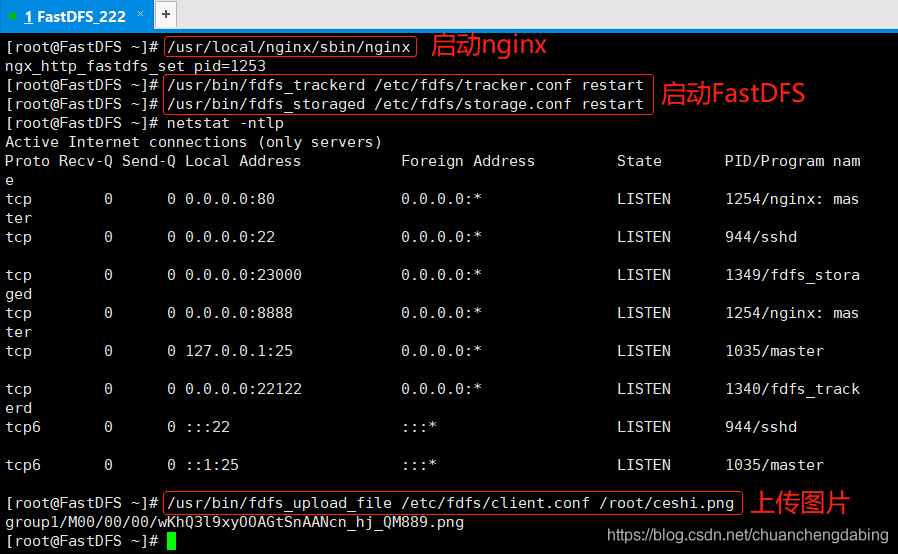
/usr/local/nginx/sbin/nginx   	 		启动nginx
mkdir  /home/fastdfs -p					    创建数据存储目录
/usr/bin/fdfs_trackerd   /etc/fdfs/tracker.conf restart  	 		 启动追踪器
/usr/bin/fdfs_storaged   /etc/fdfs/storage.conf restart  		 启动存储器
netstat   -ntlp				查看所有运行的端口执行上传命令:/usr/bin/fdfs_upload_file /etc/fdfs/client.conf /root/ceshi.png
存储路径:group1/M00/00/00/wKhQ3l9xyOOAGtSnAANcn_hj_QM889.png

版权声明:本站所有资料均为网友推荐收集整理而来,仅供学习和研究交流使用。

工作时间:8:00-18:00
客服电话
电子邮件
admin@qq.com
扫码二维码
获取最新动态